 By 管理员

The recently released Xiaomi 17 Ultra Leica Special Edition comes with an exclusive imaging mode called “Leica Instant”.
1. Not a filter, a style model
“Leica Instant” doesn’t just stack a filter on top like ordinary phones do. It rebuilds the style model at the image processing pipeline level, the result of on-device model training plus modeling of real film and camera samples.
2. Emulating the look of real classic Leica cameras
“Leica Instant” ships with two styles:
- Leica M9 CCD simulation mode — reproduces the color and tone of Leica M9 CCD images, with rich color gradation and soft detail, not just a color tweak.
- Leica M3 + MONOPAN 50 film black and white mode — simulates the black and white tones a classic Leica M3 with MONOPAN 50 film produces, with real luminance transitions and film grain, instead of the plain desaturation of an ordinary black and white filter.
3. Style transfer through a deep computational photography model
The color and tone aren’t preset filters. They come from an on-device model trained on real Leica M9 and M3 sample images — think of it as a “style transfer model”. It maps the input RAW image to Leica-style output while keeping the algorithmic flavor to a minimum and the texture natural.
I have a Fuji XS20 and have shot a pile of photos with the Fuji CC and NC filters, keeping both the JPG and RAF files. Those RAFs paired with their target-style JPGs are exactly the training data you want for a “Fuji Instant” model. It’s the same idea as Xiaomi’s “Leica Instant” trained on Leica M9/M3 samples: learn a photography style mapping, so that feeding the model a RAF or RAW photo eventually gives back a JPG in the Fuji filter style. We started with the Pix2Pix project to see whether it was even feasible.
Here’s the training route GPT suggested:
- Style transfer / image-to-image networks: GANs like CycleGAN and Pix2Pix, or variants like StyleGAN and VAE/GAN combos
These models can learn the mapping from RAW space to the target style space. - Conditional generative models: a conditional network conditioned on the RAW input, so the model outputs Fuji-style JPG images.
- Better understanding of light, color and film grain
Fuji film looks often involve characteristic mappings of highlight and shadow colors, so you may need custom losses (perceptual loss, color histogram loss, that kind of thing) to keep the style details.
Pix2Pix is a strict one-to-one (paired) image-to-image model, and a RAF with the in-camera Fuji JPG of the same name is exactly the ideal case for it. So we kicked off with Pix2Pix.
Roughly how much data GPT says you need:
Level 0: check that it works
200–300 RAW + JPG pairs
What that gets you:
- The model clearly picks up the Fuji style
- Color direction, contrast and overall look come close
- Artifacts may show up in places
- Highlights / shadows may be unstable
Good enough to run the pipeline through end to end for the first time.
I wouldn’t go below 150 pairs — Pix2Pix overfits to a “template color”.
Level 1: comparable and usable
800–1500 pairs (recommended)
What that gets you:
- Very close to the in-camera JPG
- Consistent across scenes (indoor / outdoor / overcast)
- Film grain and color transitions start to look “Fuji”
- Compare a training-set RAW against its JPG and the difference is acceptable to the eye
We start with the simplest thing. One catch: raw or RAF files can’t go straight into training. They need preprocessing first, so the RAW lands in one unified “photographic input space”.
The pipeline:
- rawpy reads the RAW
- No curve, no gamma
- White balance (or fixed)
- Convert to linear RGB
- Normalize to [0,1]
Otherwise the model learns a mess of mappings across different exposures and different cameras.
The whole flow:
Fuji RAW (.RAF / .DNG)

        ↓  rawpy

Linear RGB (float32)

        ↓ resize / crop

256x256 tensor

        ↓ Pix2Pix Generator

Fake Fuji JPG
1. First make a fuji_instant folder, then create jpg and raf subfolders under it for the raw dataset.
Heads up
- raf and jpg file names must match exactly
- No data augmentation at Level 0
2. Then write the script preprocess_level0.py to preprocess the data.
import rawpy
import numpy as np
from PIL import Image
from pathlib import Path
from tqdm import tqdm

RAW_DIR = Path("/mnt/smb_share/fuji_instant/raf")
JPG_DIR = Path("/mnt/smb_share/fuji_instant/jpg")

OUT_ROOT = Path("pytorch-CycleGAN-and-pix2pix/datasets/fuji_level0")
TRAIN_A = OUT_ROOT / "train/A"
TRAIN_B = OUT_ROOT / "train/B"

TRAIN_A.mkdir(parents=True, exist_ok=True)
TRAIN_B.mkdir(parents=True, exist_ok=True)

SIZE = 256

def process_raw(path):
    with rawpy.imread(str(path)) as raw:   # ← 关键修复点
        rgb = raw.postprocess(
            use_camera_wb=True,
            no_auto_bright=True,
            output_bps=16
        )
    rgb = rgb.astype(np.float32) / 65535.0
    img = Image.fromarray((rgb * 255).astype(np.uint8))
    return img.resize((SIZE, SIZE), Image.BICUBIC)

def process_jpg(path):
    img = Image.open(path).convert("RGB")
    return img.resize((SIZE, SIZE), Image.BICUBIC)

for raw_path in tqdm(sorted(RAW_DIR.glob("*"))):
    name = raw_path.stem
    jpg_path = JPG_DIR / f"{name}.jpg"
    if not jpg_path.exists():
        continue

    process_raw(raw_path).save(TRAIN_A / f"{name}.png")
    process_jpg(jpg_path).save(TRAIN_B / f"{name}.png")

print("✅ Level 0 preprocess done")
python3 reprocess_level0.py

Where the generated data lands
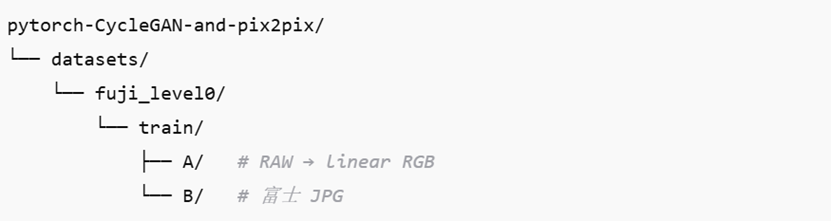
3. Set up Pix2Pix and install the dependencies
git clone https://github.com/junyanz/pytorch-CycleGAN-and-pix2pix.git

cd pytorch-CycleGAN-and-pix2pix

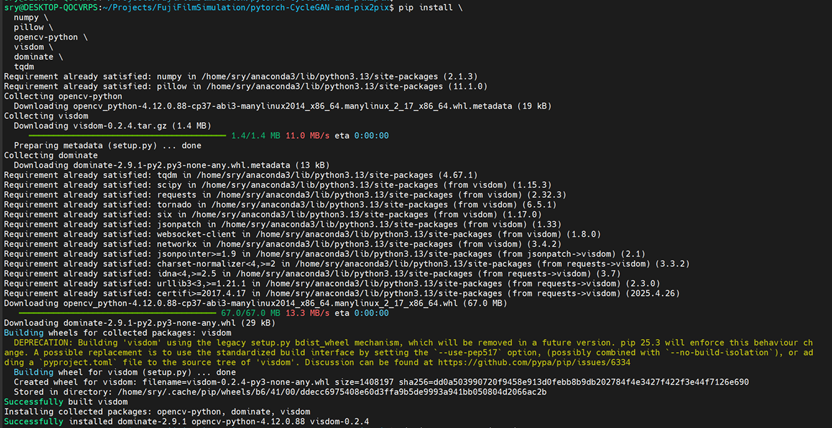
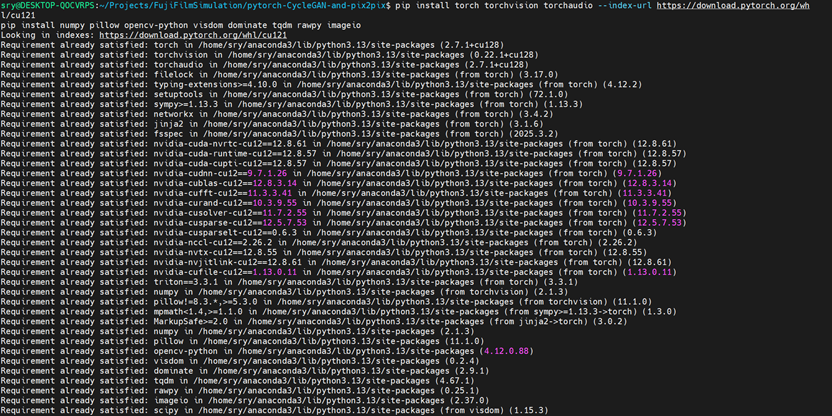
pip install torch torchvision torchaudio --index-url https://download.pytorch.org/whl/cu121

pip install numpy pillow opencv-python visdom dominate tqdm rawpy imageio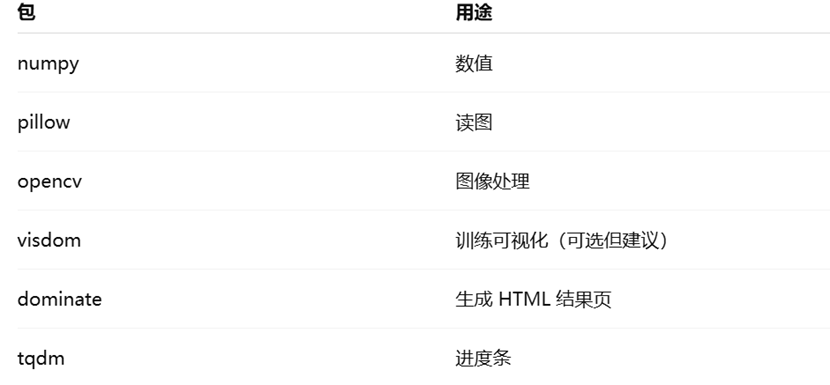


4. Now kick off the level0 training
python train.py \

  --dataroot datasets/fuji_level0 \

  --name fuji_pix2pix_level0 \

  --model pix2pix \

  --direction AtoB \

  --netG unet_256 \

  --batch_size 1 \

  --gpu_ids 0 \

  --display_freq 200 \

  --print_freq 200 \

  --save_epoch_freq 10 \

  --n_epochs 100 \

  --n_epochs_decay 50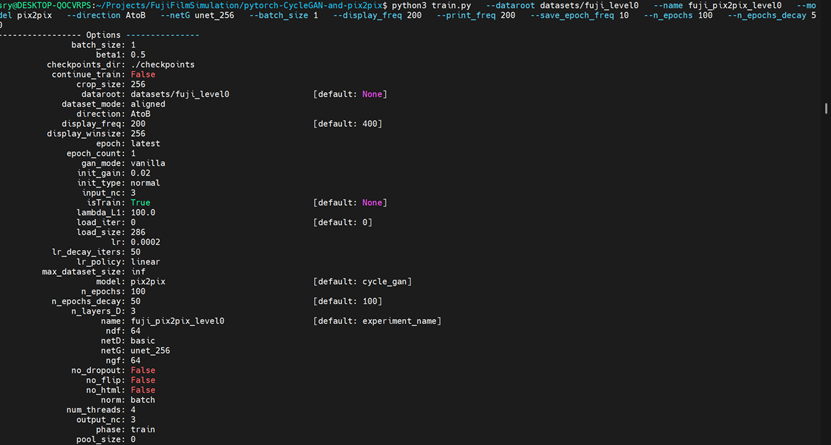
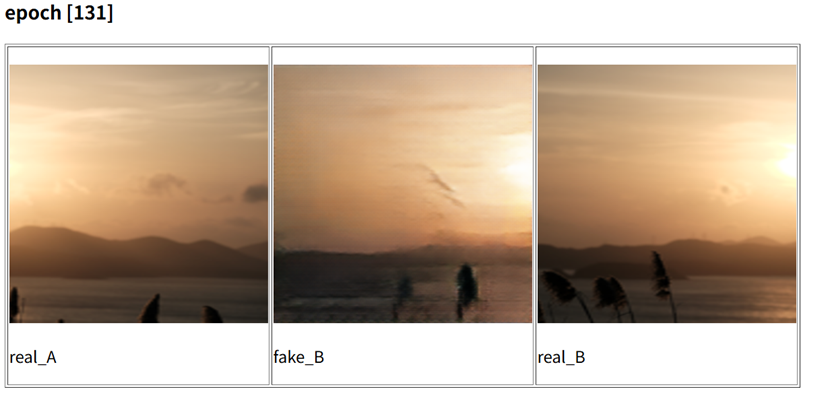
You’ll see three images in the output directory:
| File | Meaning |
| xxx_real_A.png | RAW input |
| xxx_fake_B.png | Model output |
| xxx_real_B.png | Fuji in-camera JPG |
Sample results
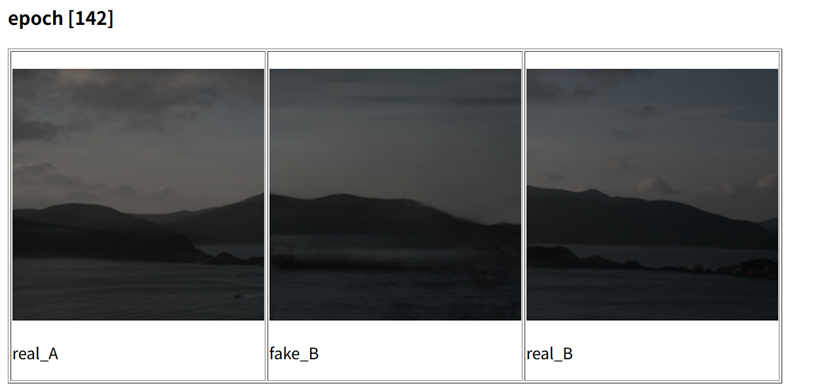
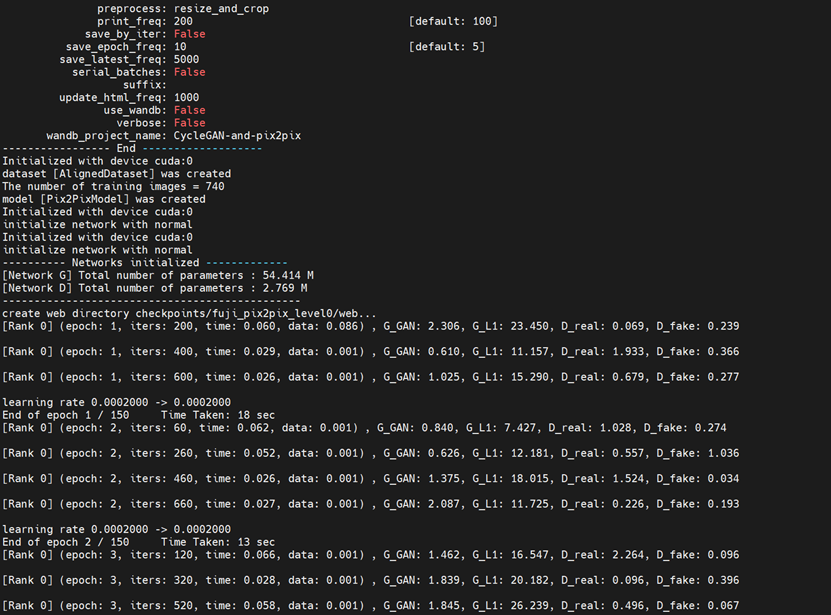
Here’s GPT’s verdict on the training log:
This is a normal Pix2Pix Level 0 training log — the core Level 0 loop is up and running.
1. Verdict
Current status: healthy, worth keeping running
- No mode collapse
- No D/G blow-up
- L1 fluctuates within a reasonable range
- GAN loss isn’t one-sided
2. Reading the first round of data:
(epoch: 1, iters: 200)

G_GAN: 2.306

G_L1: 23.450

D_real: 0.069

D_fake: 0.239- G_L1 (the important one)
- Early on, 20–50 is normal
- Now: bouncing between 7 and 26
Very healthy — the model is quickly learning the main color & contrast of “RAW → Fuji JPG”
- G_GAN
- Normal range 0.5 to 3.0
- Now: 0.6 to 2.6
GAN loss jitters anyway.
This isn’t a regression problem.
- D_real / D_fake (discriminator state)
Right now:
- Sometimes D_real ≈ 0.06 (D is confident)
- Sometimes D_real > 1 (D got fooled)
- D_fake swings between 0 and 1
This is the ideal state for Pix2Pix.
It means:
- The discriminator and the generator are in a tug-of-war
- Neither side is completely dominating
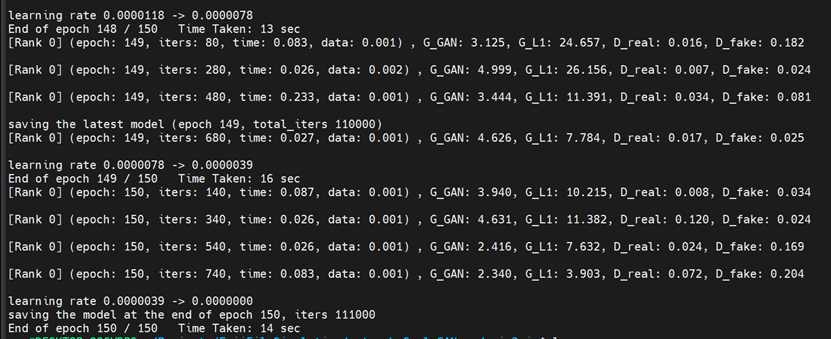
Looking at it with the naked eye: at epoch 20 the colors are close, but there’s a mosaic-like look and things aren’t very sharp; epoch 150 still has the same problem. That’s not a training failure and it’s not your data — it’s a structural flaw in Pix2Pix for the RAW→JPG task.
1. The mosaic look
It shows up as:
- Blocky texture across the frame
- Parts of the picture look chopped into “8×8 / 16×16” tiles
- Edges aren’t sharp
- Textures look like “smearing + patchwork”
This isn’t low resolution — it’s a known problem with Pix2Pix (U-Net + PatchGAN) on photography tasks. PatchGAN discriminates at the block level: the discriminator only looks at 70×70 patches, so it cares about local similarity and nothing about global continuity. The model learns to make “every block look like Fuji” while ignoring how the blocks flow into each other (the overall result). On top of that, RAW to JPG is a continuous tone mapping problem, and Pix2Pix is better at:
- Semantic translation (horse ↔ zebra)
- Tasks with obvious edges
But photography needs:
- Smooth luminance transitions
- Continuous color curves
- Natural preservation of high-frequency texture
Pix2Pix isn’t good at any of that.
- 256×256 + resize makes the problem worse on its own
- resize → bicubic
- The GAN learns the fake texture left behind by the resize
- In the end it looks like smearing + mosaic
Training up to epoch 150 has the same problem. It’s not that we lack data, it’s that the model’s way of representing things is wrong. But we’ve already confirmed 1. the colors are close to the Fuji filter and 2. the style direction is right. That tells us the data and the pipeline are correct and the problem is the model architecture. Level 0 can end here. It proved RAF to Fuji-style JPG is doable, and it found the edge of the problem. We also noticed the output samples already show crop regions that don’t line up, which we’ll need to fix in later training.
Note: halfway through I found that mounting the NAS path over SMB kept failing. Turned out the smb user password can’t be longer than 64!!!!
Next: Leica Instant? Fuji Instant! Level 1 training
Published on January 18, 2026.